Banner pictures
Banner pictures
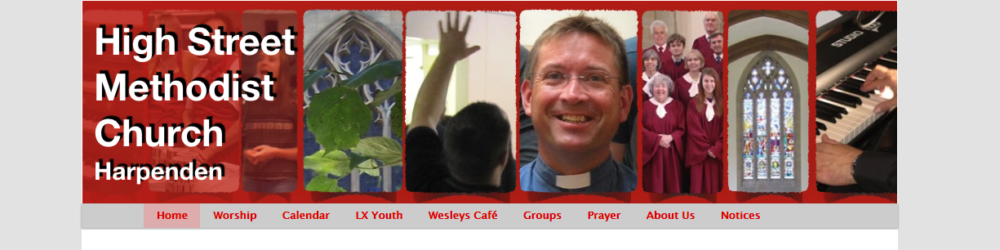
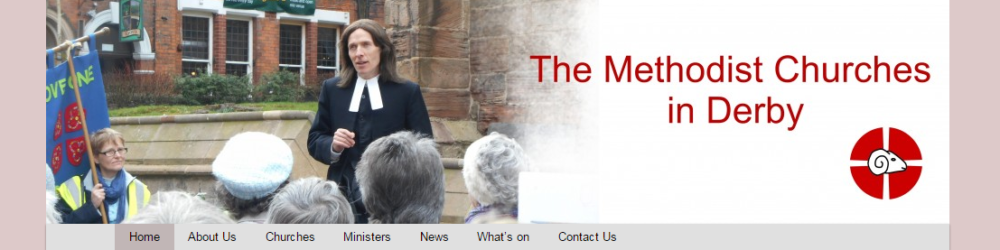
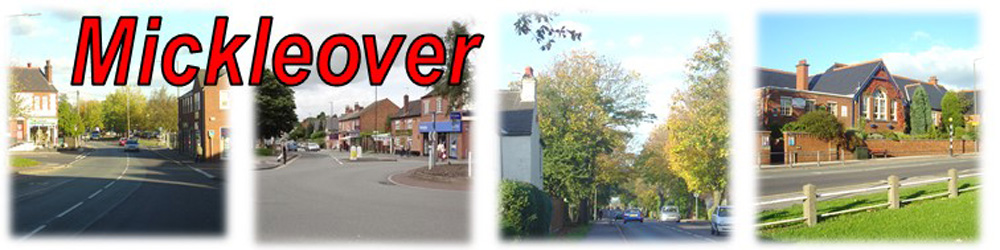
The website supports the ability to have a single picture at the top of the page, or a scrolling banner. One or other can be set for the complete website, and this can be overridden by a separate picture or scrolling banner for individual pages. An override for an individual page is also used automatically for any ‘children’ of the page. The default for the whole website can also be a set of banners where one is selected at random from a set of banners.
The single pictures or banner pictures need to be rescaled and cropped so that they are 1000 pixels wide and 250 high. This can be done using an image editor before they are uploaded or it can be done using WordPress’s own picture editor after it is uploaded (*)
Setting the default single or set of banners for the website
From the Admin screens select “Appearance/Header” and then “Add new image” or select one of the previously uploaded images. If there are a number of previously selected images then click “Randomise uploaded headers” at the bottom of the list of pictures for one of these headers to be picked at random each time a page is loaded.
Setting a header on a single page (and its ‘child’ pages)
Open the page for editing and click ‘Set Custom Header Image’ within the ‘Custom Header’ box. Upload the file if it is not already uploaded (*) and then click ‘insert into page’
Setting a banner on a single page (and its ‘child’ pages)
The banner is created using the “Cyclone Slider” button on Admin screen
- Click ‘Add Slideshow if it is a new banner, otherwise click ‘edit’ under the slideshow to be modified
- If it is a new slide show then:
- Set the name of the slideshow
- Click under ‘selected’ in the templates section to select the dark template
- On the RHS set the width to 1000 and the height to 250
- On the RHS set the ‘show prev/next button’ to No and the ‘Show Navigation’ to No
- Click ‘Add images as slides’ to select one or more images. These can be uploaded and if they have not been made 1000*250 they can be cropped within WordPress (*)
- (Note that if they are edited within WordPress then this happens in a new window. When it is closed after the edited picture has been saved then the picture in the window showing all of the pictures available does not show the update. Nevertheless it can still be selected, added to the slideshow and then the slideshow updated. At this point it will pick up the cropped version of the picture)
- Click ‘Publish’ on the RHS
- To set the slider so that it is used on a specific page, edit the page, and in the Pages/Posts linked to this page and header info box select the slider using the ‘Header Slider’ dropdown
Alternative Header Text
It is possible to change or remove the default header text that normally appears at the top of each page and replace it for a specific page (daughter pages will automatically then change as well). This is done using the ‘Header Title’ entry in the ‘Pages/Posts linked to this page and header info’ section when editing the page. To remove the text, set the text to one or more spaces.
* Editing the picture using the WordPress picture editor
This usually involves rescaling the picture so that it is 1000 px wide and then cropping it so that it is 250px wide.
The first stage is to select the picture when the media viewer is open and then click ‘edit image’ on the RHS of the editor
RESCALING
In the top right where it says ‘Rescaling’ put 1000 in the left hand box and then click scale
CROPPING
- Use the mouse to select any bit of the picture on the left
- Set ‘Selection’ on the in the ‘Image Box’ section on the RHS to 1000 * 250
- Move the selection in the window until it is in the right position
- Click the crop button, which is the left hand button of the buttons above the picture
- Click Save